Pete's Log: Making things worse and then making them better again
Entry #1998, (Smokepacking)(posted when I was 43 years old.)
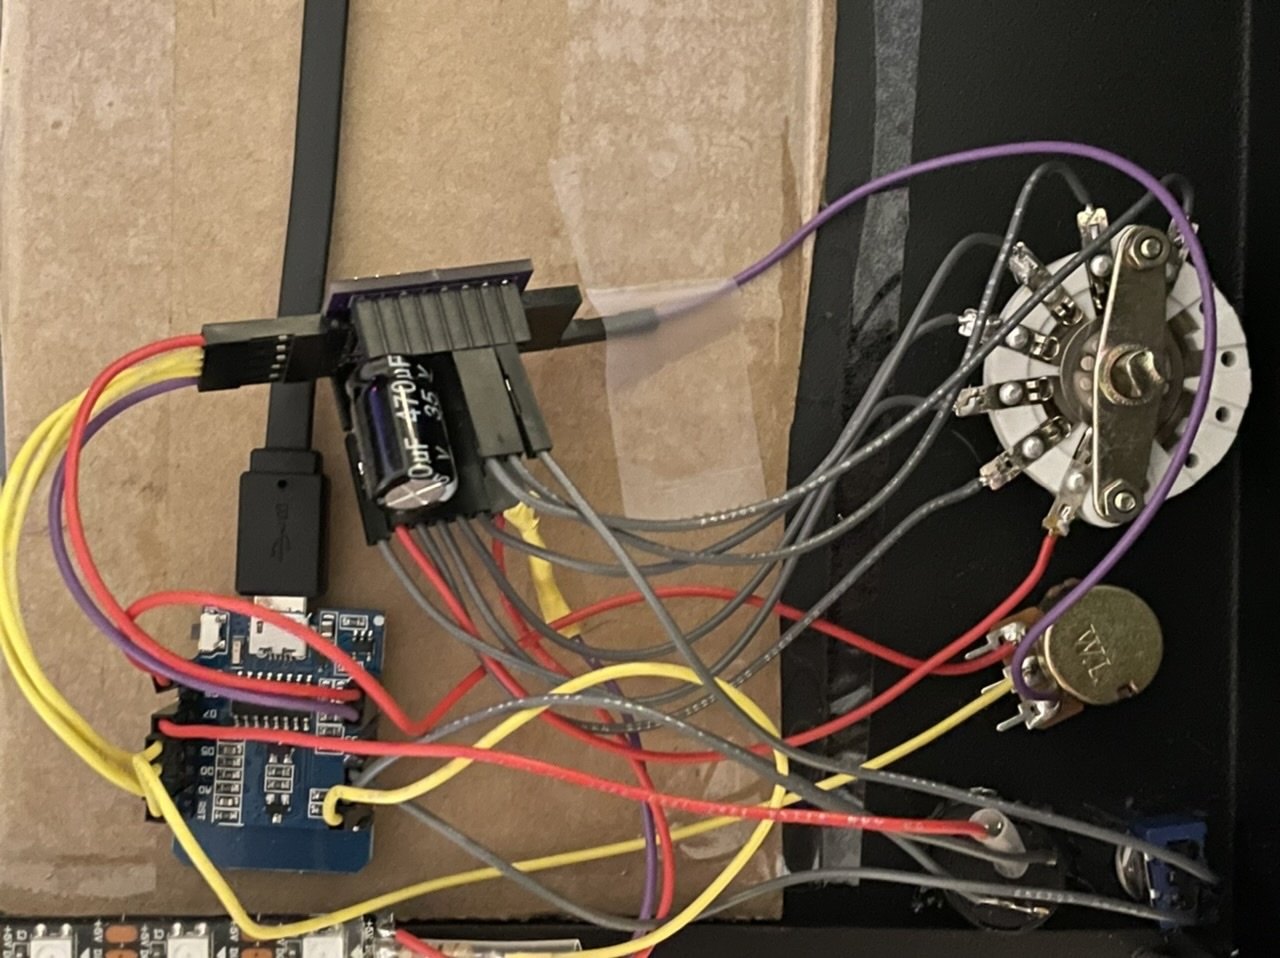
During naptime yesterday I got a bit ambitious and decided to take on my desklights again. This is the first time I actually took the monitor stand off my desk to work on this. So here are some before photos from underneath:
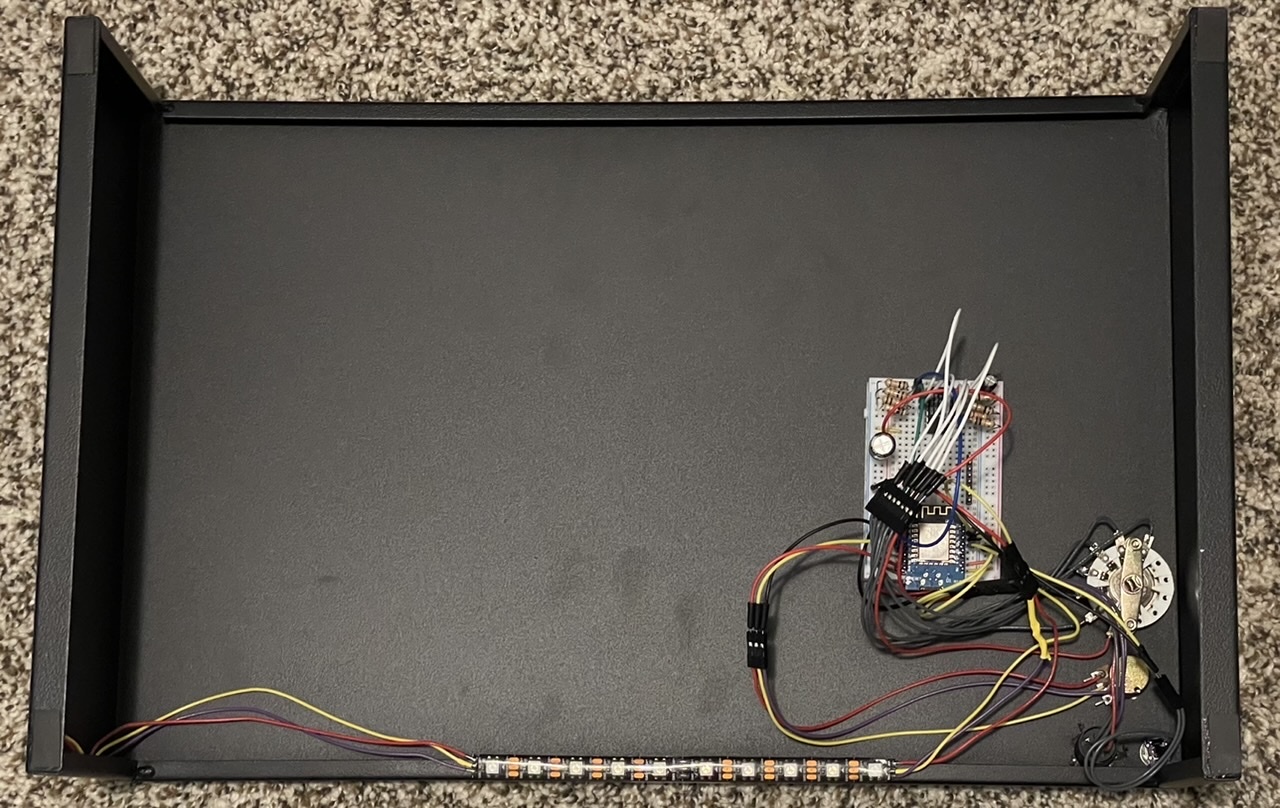
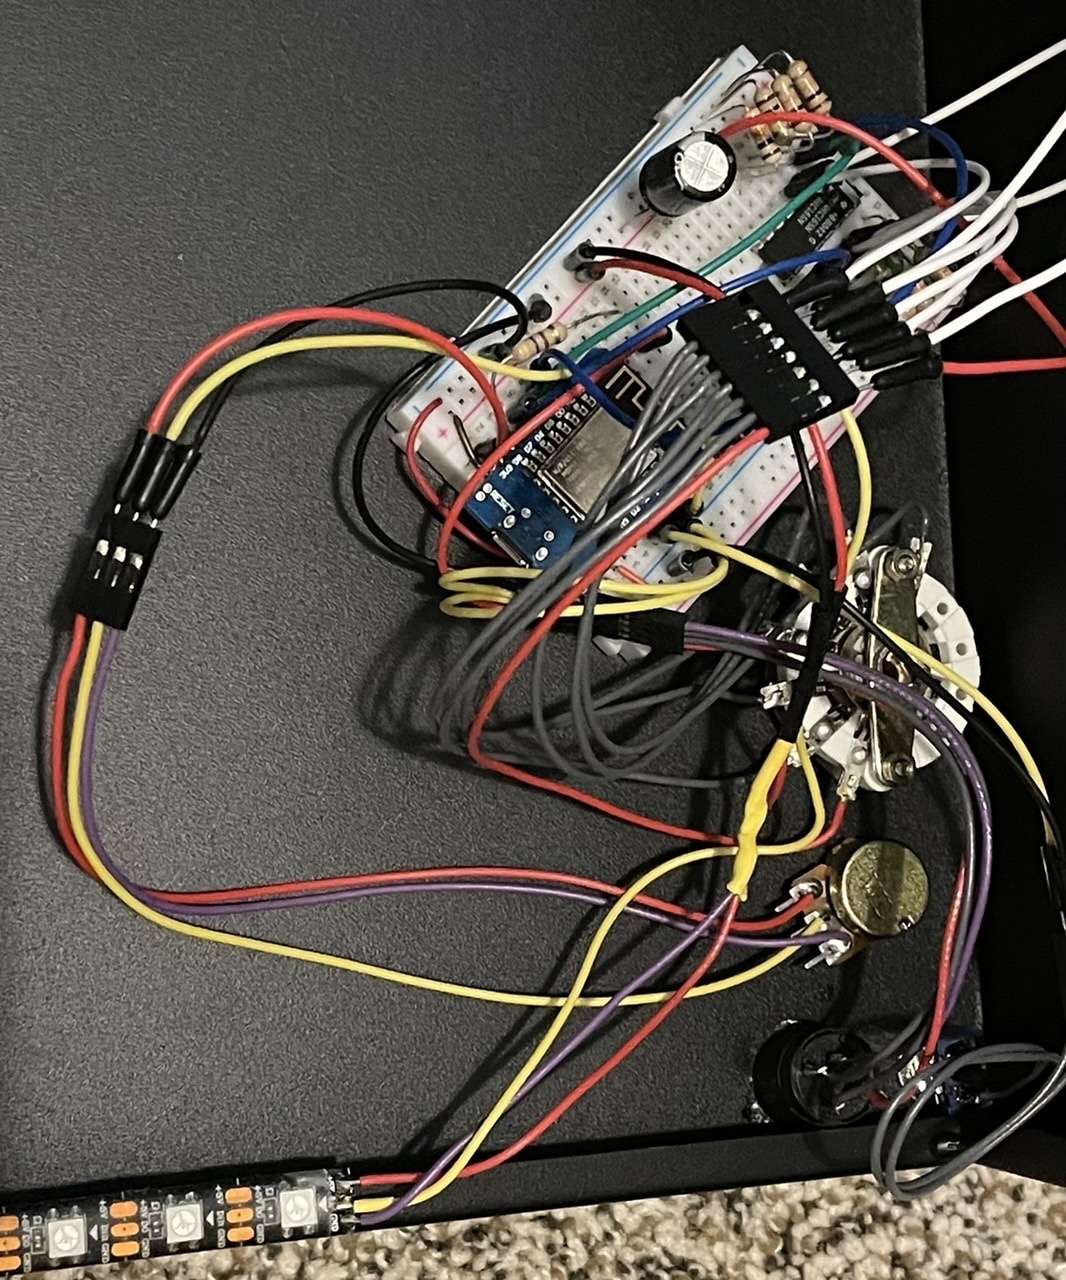
So the goal was to remove the breadboard from the picture and incorporate one of my 74HC165 PCBs. And maybe reduce the number of wires involved.
So I realized that with how I configured my 74HC165 PCB, a bunch of my wires had female connectors where they needed male ones. So I did a bunch of crimping. Luckily, I enjoy crimping. I learned how to crimp DuPont-style connectors while working at DMC and a few months ago I bought the supplies for doing this style of crimping at home and I've been real pleased to be able to make custom connectors at home. Like this thing I ended up needing for the desklights.

The crimping technique DMC taught me has served me well enough, but a couple weeks ago I came across this video on Adafruit's channel that gave me some doubts, so I actually wrote and postponed an entry regarding those doubts. Yesterday was my first time crimping since seeing that video, and my doubts were unfounded. What worried me was that I learned to crimp all in one go, whereas this video did two crimps, one on the wire and one on the insulation. What I didn't pay enough attention to at the time is that this video is doing JST connectors instead of DuPont and also that my crimping tools seems built to do both crimps at the same time. So no more doubts. Crimping is life. Also means no more cutting existing connectors apart to build Frankencables.
Anyway. I got all but one of my buttons and knobs rewired yesterday before nap time was over. But alas, all was not well. The lights under my monitor would light up fine, but the lights by my work area would not turn on. I was starting to worry I had fried some Neopixels or something.
But during today's naptime I realized I was just being a dummy. The one knob I hadn't gotten connected yet was the potentiometer knob that I had configured to control the brightness of the work area lights. So with nothing connected, the ESP8266 was just setting the brightness to 0. Sigh.
Today's naptime saw this project completed. It still looks like cable spaghetti, so I didn't quite achieve my expectations, but in retrospect, there were just bound to be a lot of cables. My buttons and knobs require 7, 4, 3, and 2 wires respectively, and the Neopixels add another 3. I decided to tape my pinout notes to the bottom of the monitor stand as a surprise for next time. And I added cardboard to prevent any pins touching the metal monitor stand. I can see some of the cables right now, but at least there's no more breadboard. And I added a couple enhancements I realized were Neopixel best practices. There's now a beefy smoothing capacitor across supply and ground and a 370 Ohm resistor on the data cable to the Neopixels.

Oh yeah, one other thing. The reason the HUB75 display shows "M: d" is that HA is down again (despite several reboots), so it can't connect to MQTT. HA being down made diagnosing the Neopixel issue via ESPHome extra fun. Guess I should really prioritize a new HA install.